- Cement board is a water resistant tile backing for UAE bathrooms, kitchens and balconies
- Heat and humidity make preparation and small mortar batches very important
- Score, snap and screw the boards at even spacing
- Tape every seam with mesh and cover it with thin set
- Add a waterproof membrane in wet areas before tiling
Tiles that crack or lift from a bathroom wall within a year are rarely caused by the tile itself. In the UAE, summer heat above 40 degrees Celsius, humidity and daily water use stress whatever sits behind the tile. A weak backing layer cannot cope.
If you are a villa owner, apartment renovator or contractor who wants fewer callbacks, this guide is for you. It is a step by step guide to install cement board in UAE conditions, from tools and preparation to fixing and finishing.
You will learn what to buy, what to avoid and how to leave a surface that tiles bond to for years.
What Is Cement Board and Why It Works Well in the UAE
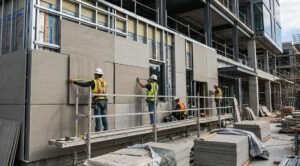
Cement board, also called backer board, is made from cement and fibreglass mesh. It does not swell or rot when wet, so it works well behind tiles in showers, kitchens, laundry rooms and balconies across Dubai, Abu Dhabi and Sharjah.
Sheets usually come in 6 mm to 12 mm thickness. Thinner sheets suit walls and thicker ones suit floors.
To see why builders choose it over plain drywall, read about the benefits of cement boards before you buy.
Tools and Materials You Need Before You Start
Gather everything first so mortar does not dry while you search for a tool.
| Item | Why You Need It |
| Cement board sheets | Main backing layer for tiles |
| Thin set mortar | Bonds the board to floors and finishes the seams |
| Cement board screws | Fix the sheets firmly to the frame |
| Fibreglass mesh tape | Reinforces every joint and corner |
| Utility knife and straightedge | Scores the board before snapping |
| Notched trowel | Spreads mortar evenly |
| Dust mask and safety glasses | Protect you from cement dust |
Keep mortar bags in a cool, shaded spot, since UAE heat and humidity can spoil them. Always follow the data sheet of the products you buy, as mixing ratios and curing times differ.
How to Prepare the Surface for Cement Board Installation
Good preparation decides how long your tiling lasts.
- Get approval from building management before starting work in apartments and gated villas
- Remove old tiles, adhesive, loose plaster and dust
- Check that the substrate, such as studs or floor joists, is firm and level
- Fix loose framing and fill dips in floors with a levelling compound
- Dry lay the sheets first to plan cuts and keep joints away from corners
Dry laying shows you problem spots before any mortar is mixed.
How to Cut, Mix and Fix Cement Board in Hot Weather
Think of the next stages as a step by step guide to install cement board in UAE homes, where heat dries mortar faster than you expect. Start early in the morning and keep the area shaded.
Score the board with a utility knife along a straightedge, then flip it and snap along the line. Use a jigsaw with a carbide blade for pipes and sockets, and wear a mask.
Mix thin set mortar with clean water to a thick paste and let it rest for about ten minutes. Mix small batches so it does not skin over.
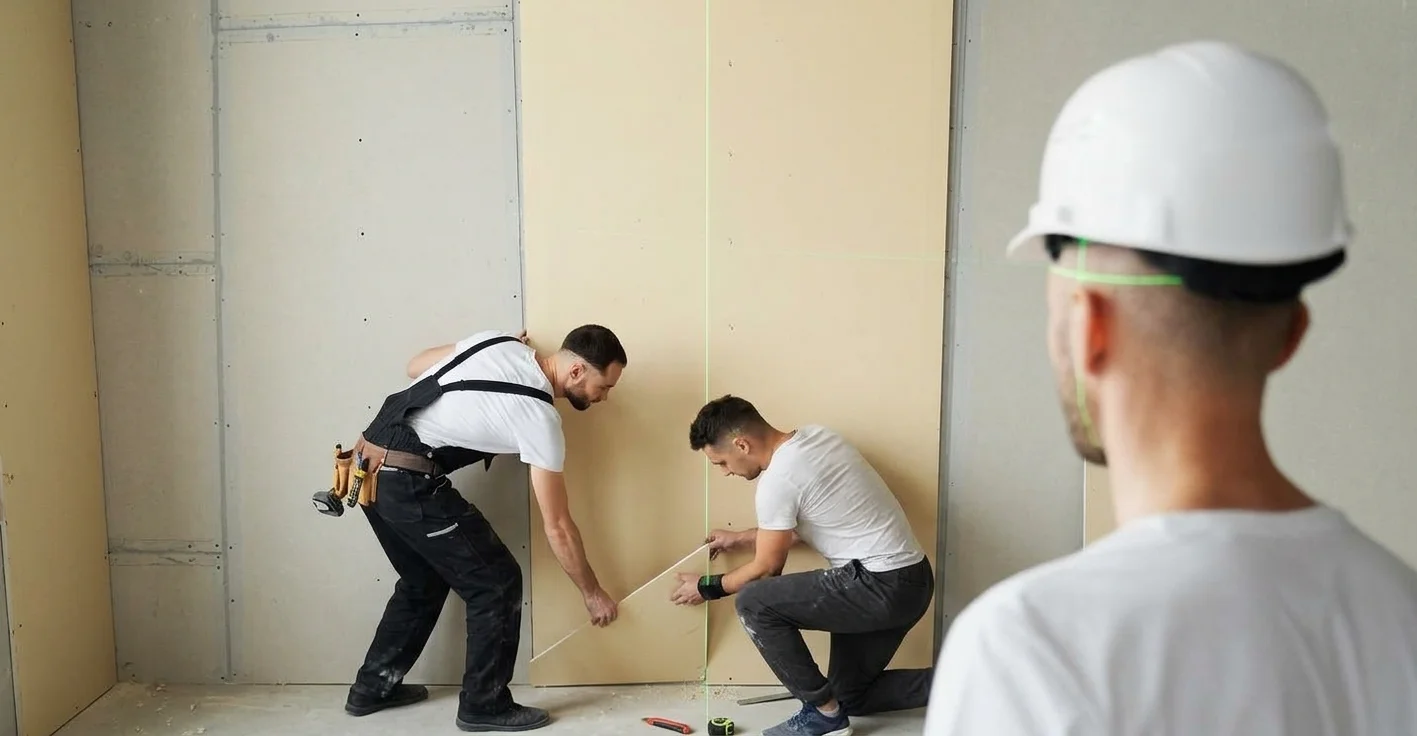
- On floors, spread mortar with a notched trowel. On walls, screw the board straight to the studs.
- Place the sheet with the face side up, as marked by the manufacturer.
- Leave a gap of about 3 mm between sheets.
- Drive screws about 20 cm apart and 10 mm from the edges, keeping the heads flush.
How to Tape the Seams and Waterproof Wet Areas
Seams are where cracks usually begin. This stage often gets rushed, yet it decides whether your step by step guide to install cement board in UAE ends with a surface free of cracks.
Press mesh tape over every joint and corner, then spread a thin layer of mortar over it with a flat trowel, pushing it through the mesh. Smooth out any lumps. In hot weather, finish one section at a time so the mortar does not dry too fast.
Let the mortar cure for the time your product recommends. In showers and wet floors, add a waterproof membrane before tiling, because cement board resists water damage but is not waterproof on its own.
Common Mistakes That Cause Cracks and Loose Tiles in the UAE
Most failures trace back to a few simple errors.
- Screwing too close to the board edges
- Skipping mesh tape on joints
- Tiling before the mortar has cured
- Fixing boards onto a flexing frame
- Leaving out waterproofing in showers and balconies
- Working in midday heat with large mortar batches
Most of these problems disappear when you follow a step by step guide to install cement board in UAE from start to finish.
Final Thoughts
Now that you know how to prepare, cut, fix and tape boards, the next decision is choosing a supplier you can trust. A weak or damaged sheet can crumble or fail under the weight of tiles, so board quality matters as much as your method. Keep this step by step guide to install cement board in UAE close before every project.
For quality building materials and construction supplies, Reality Building Materials Trading is a reliable building materials supplier in UAE Dubai, offering cement boards and other construction essentials for projects of every scale.
Get the right cement boards for your UAE project
Not sure which thickness suits your walls, floors or balcony? Tell our Dubai team about your project and we will recommend the right boards, quantities and accessories, with a clear quote and no guesswork.
Frequently Asked Questions
Can cement board be used in wet areas?
Yes, it suits bathrooms, kitchens and balconies, but add a waterproof membrane over the board and seams before tiling.
Which side of cement board faces out?
Follow the manufacturer markings. Many boards have a smooth and a rough side, and the rough side usually faces out to grip the mortar.
How long should I wait before tiling over cement board?
It depends on the mortar and membrane. Heat can make surfaces look dry early, so follow your product data sheet.
Keep Reading More Construction and Industrial Guides
- Cement Board vs Fiber Cement Board Key Differences Understand how these two related materials differ before you order for your next job.
- What Is Plywood Its Types Uses And Benefits Guide Compare a common substrate material often used alongside cement board on site.
- The Complete Guide to Prefab Construction Materials See how panel based materials like cement board fit into faster prefab builds.
- Top 10 Benefits of Prefabricated Modular Construction Learn how modern building methods pair well with durable board materials.
- Corded Drill vs Cordless Drill Which One Fits Your Project Find the right tool for cutting and fixing cement board on site.